We Built a Fence!
Even though it's the title of this post, I feel like that needs to be repeated for good measure. WE BUILT A FENCE! 165 linear feet of fence! And! I think we did a pretty darn good job too!
This was our biggest DIY project, by far, not only in man hours but in cash outlay too. Once the wood and metal had been purchased, there was no going back.
Like I said in the last post about fencing, I knew I wanted something modern and airy. I found a fence style online that I loved but unfortunately, there were no tutorials on how to build it so I basically just researched everything about fence building I could.
Before we could start building, we had to clear out the remaining compacted rock from the section of parking pad that would soon become the yard so that we could plant grass. This one was all Branch! We rented a demo hammer, which is basically a mini jack hammer and Branch got to work.


Once everything was cleared out, it was time to map everything out. When we had our layout and dimensions, it was time to order the wood and buy the metal. The panels were made using a metal panel cut to size, 2- 2x4's and 6 2x2's. We're fortunate enough to have a wonderful lumber yard just down the street. The guys were super helpful and even delivered the load for free!

I picked up the metal panels from Tractor Supply. They're literally feedlot hog panels that came in 16' panels but we cut them in half at the store so I could get them home in the truck.


The first three panels went in without a hitch! It definitely gave us a boost of confidence that we were going to be able to figure this thing out!

We had to have some trees removed before we could work on the rest of the fence which happened the following week. Once the trees were gone it was time to get to work! Day 1 started early with a trip to Home Depot to rent an auger. Silly us, we rented a one man auger that struggled to get through the root filled dirt we found ourselves with. Back to Home Depot I went to get this bad Mama-Jama:

The hydraulic auger looked intimidating but was actually much easier and safer to use. It took us a lot longer than expected but we were able to get all the holes dug and the auger returned by the end of Day 1. Margaritas and tacos were consumed ;)


This was our biggest DIY project, by far, not only in man hours but in cash outlay too. Once the wood and metal had been purchased, there was no going back.
Like I said in the last post about fencing, I knew I wanted something modern and airy. I found a fence style online that I loved but unfortunately, there were no tutorials on how to build it so I basically just researched everything about fence building I could.
Before we could start building, we had to clear out the remaining compacted rock from the section of parking pad that would soon become the yard so that we could plant grass. This one was all Branch! We rented a demo hammer, which is basically a mini jack hammer and Branch got to work.

Everything in gray had to go!

Branch doin' work!

Once it was all broken up, we worked together to scrape all the loose rock into a Bagster dumpster bag for Waste Management to pick up. Easton and I got to watch them pick it up (yay for free entertainment!) and the alarms were going off on the truck saying the load was over its weight limit. Just in case you wanted to know, it has a 3,300lb weight limit. That means we moved a LOT of gravel!

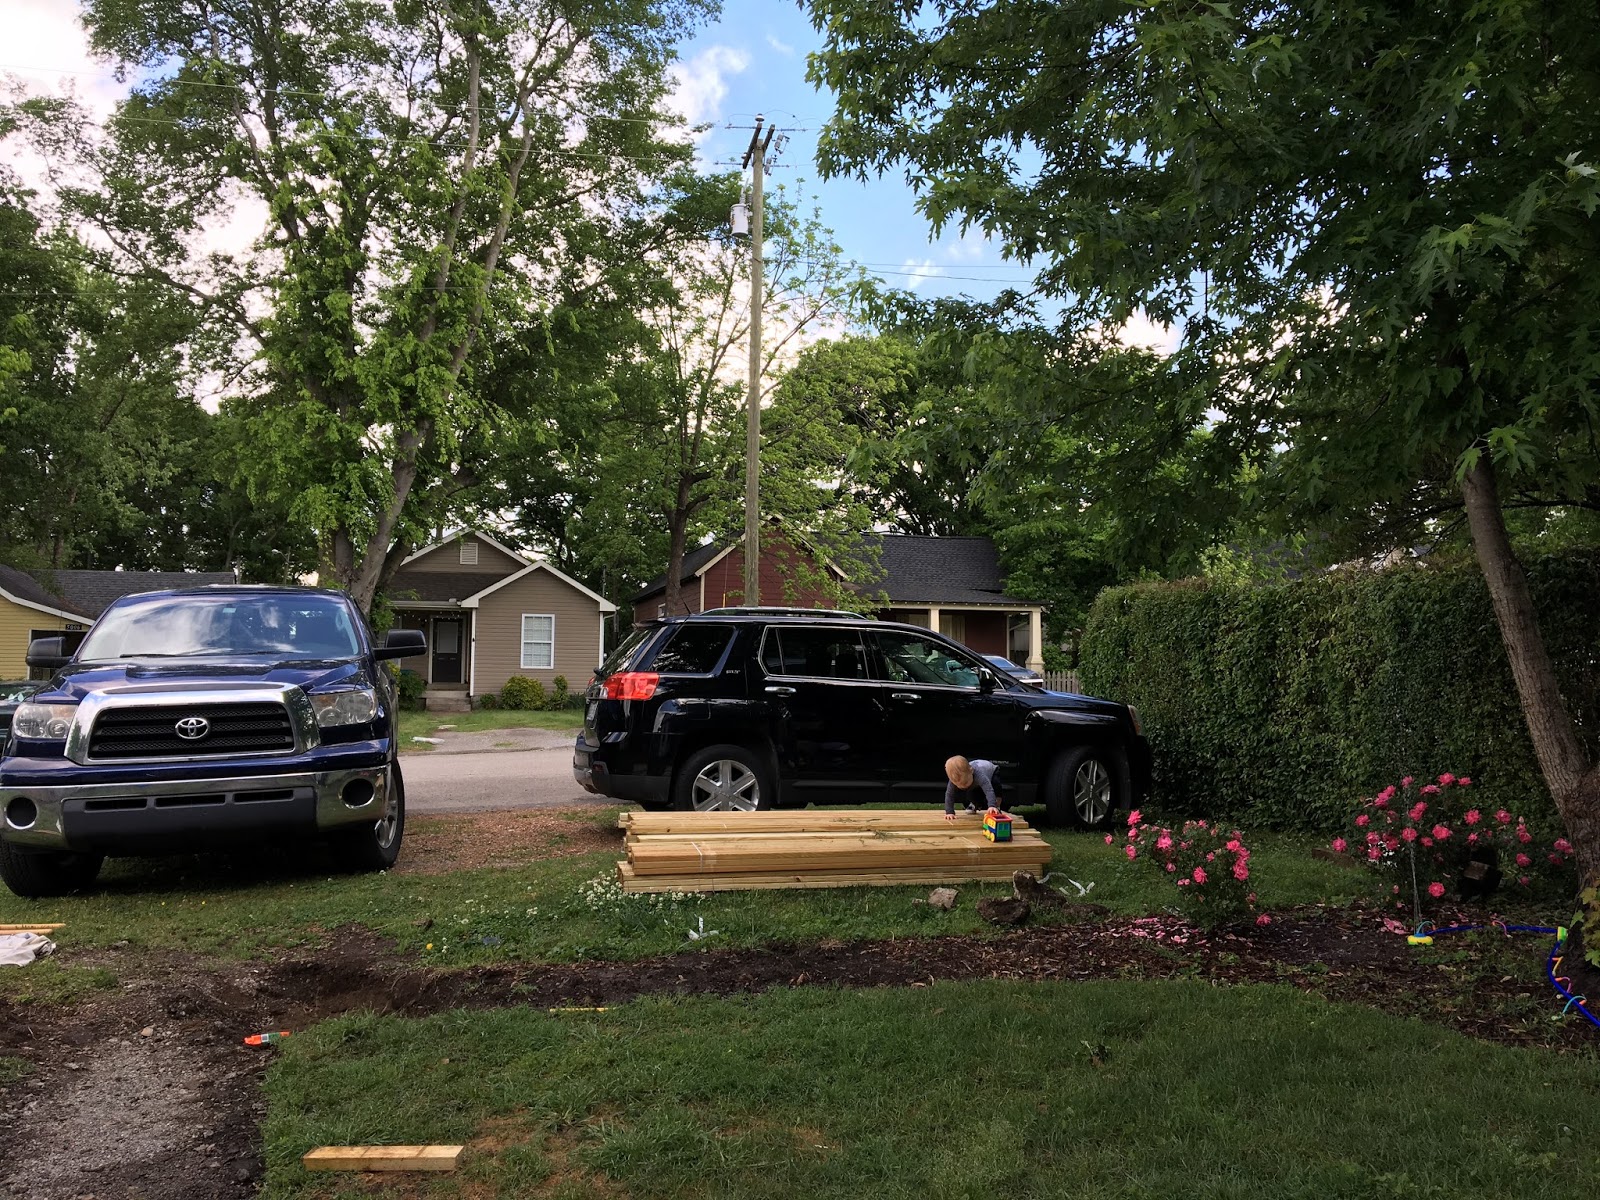
Easton thoroughly enjoyed the pile of lumber!
The first weekend, we dug three post holes, set posts in concrete and put three panels together. We thought it would be a good idea to figure out what we were doing and work out the kinks.

No worries, the saw was unplugged anytime Easton was around :)
Our little helper did a great job of keeping himself entertained any way he could!

The first three panels went in without a hitch! It definitely gave us a boost of confidence that we were going to be able to figure this thing out!

We had to have some trees removed before we could work on the rest of the fence which happened the following week. Once the trees were gone it was time to get to work! Day 1 started early with a trip to Home Depot to rent an auger. Silly us, we rented a one man auger that struggled to get through the root filled dirt we found ourselves with. Back to Home Depot I went to get this bad Mama-Jama:

The hydraulic auger looked intimidating but was actually much easier and safer to use. It took us a lot longer than expected but we were able to get all the holes dug and the auger returned by the end of Day 1. Margaritas and tacos were consumed ;)


Day 2 was the build day. Silly amateurs, we thought we were going to knock out day 2 in a half day's work. During our "practice build" we figured out a system to keep both of us busy with different tasks for each panel so no one wasted time standing around with nothing to do. The panel assembly itself was easy - taking time to make sure things were level and figuring out how to deal with the various slopes in our yard took some time.


We were able to get about 75% of the fence built on Day 2 - so much for getting it all done in 4-6 hours ;)
One reason we weren't able to finish was because of a tricky post. We needed to put a post in 2 feet away from one of the trees we just had removed but the auger had a hard time with the roots (some as thick as 8" around!!). We did our best and got a post in. However, it was completely out of line with the other posts and it created a gap longer than 8' - the maximum length of our metal panels. UGH. So we dug it up. Then we tried using a post anchor which is basically like a 2 foot spike with a spot for a 4x4 to sit in. We hammered it into ground in the correct spot but then we couldn't get the scrap wood out.

You've got to be kidding me!
More energy was wasted digging the anchor up and then another hole was dug, this time by hand. After many nights working until the sun went down we finally had it completed!
We celebrated with a bottle of champagne purchased at our tiny neighborhood liquor store. Their champagne selection is terrible at best - our options were $6 bottles of Andre or $50 bottles of Moet. We settled on an $11 bottle of something I've never heard of and it was beyond bad! Completely undrinkable! So we gave it to the fence instead ;)

Of course we poured it on the post that gave us so much trouble. We have since swapped out the too short 8' boards for some 10' cut to fit so it's no longer shimmed ;)
I built a gate using this gate kit which kept everything square and it was super easy to do. I planked the front with 1x4's to keep it modern and added some simple hardware.

Once the fence was built, we had to wait a few months for the wood to dry out before we could stain it. We selected a rich dark stain, Sherwin William's Charwood, that is similar to the color of the gutters and has some black undertones, like the front door. Staining this fence, even though it was much longer than the original picket fence I painted last fall, was significantly easier than painting, especially because I received a paint sprayer for Christmas (thanks, Jane!!). Instead of taking me three weeks worth of nap times, as it did with the 50 feet of picket fence, I was able to get everything knocked out over the course of four days (including prep time).


We have some finishing touches left to do, mainly grading and adding new gravel to the parking pad, but as soon as it's all done I'll be sure to post an entire front yard makeover "reveal".
Love y'all!


We kept the existing privacy fence, but stained it to match.


We have some finishing touches left to do, mainly grading and adding new gravel to the parking pad, but as soon as it's all done I'll be sure to post an entire front yard makeover "reveal".
Love y'all!

.jpg)
Wowser, Lady! I'm so impressed with all your hard work! I don't think I have it in me to try to tackle a DIY fence like this. You guys are seriously rockin' it out with the home improvements. And it looks like the grass has filled in really nicely where the concrete originally was!
ReplyDeleteAlso, I'm pretty jealous of your Bagster...their pickup doesn't come to our town and that makes me sad. I keep thinking of all the things I could get rid of if they would just come pick it up for me!